
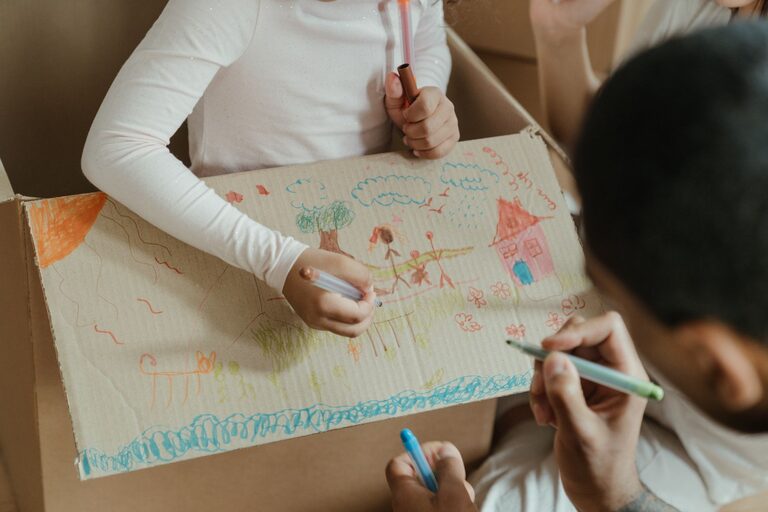

Children’s artwork is a wonderful expression of their creativity and imagination. From colorful drawings to crafty sculptures, these pieces capture their growth and development over time. However, as any parent knows, kids’ art can quickly take over your living space if not managed thoughtfully. Keeping these precious creations organized not only preserves memories but also makes your home tidier and more enjoyable.
In this post, we’ll explore practical tips for organizing kids’ art that balance creativity with order. Whether you want to save every masterpiece or curate a meaningful collection, these ideas will help you keep art organized and clutter-free.
Why Organize Kids’ Art?
Before diving into tips, it helps to understand why organization matters:
– Preserve Memories: Children’s art provides a glimpse into their evolving skills and personality.
– Reduce Clutter: Unorganized piles of paper and projects can overwhelm spaces like desks, refrigerators, and drawers.
– Encourage Creativity: An organized system can make it easier for kids to access supplies and feel proud of their work.
– Save Time: Having a dedicated place for art reduces the time spent searching for or cleaning up artwork.
Step 1: Set Up a Designated Art Space
Creating a spot specifically for art supplies and finished pieces helps contain the mess and promotes regular tidying habits.
Tips for Setting Up
– Choose a location accessible to your child, like a corner of the playroom or kitchen.
– Use a small table or desk for creating art.
– Supply containers, bins, or drawer organizers for crayons, markers, and paints.
– Add shelves or wall-mounted organizers to store paper and ongoing projects.
Step 2: Establish Clear Sorting Categories
Deciding how to categorize artwork makes organization easier in the long run.
Common categories include:
– Keep: Special pieces you want to save permanently.
– Display: Current favorites to showcase around the home.
– Gift: Artworks intended for family and friends.
– Recycle: Pieces that can be repurposed or discarded.
Encourage your child to participate in sorting. This teaches decision-making and helps them value their work.
Step 3: Create a Display Area
Displaying artwork honors your child’s efforts and adds personal charm to your home.
Display Ideas
– Gallery Wall: Use frames or clipboards to create a rotating gallery.
– String and Clips: Hang a clothesline or wire and attach artwork with clothespins.
– Magnetic Boards: Attach magnets to the back of art pieces and display them on a magnetic surface.
– Digital Frame: Scan artwork and upload images to a digital photo frame for a slideshow.
Rotate displays regularly to keep things fresh and avoid overcrowding.
Step 4: Use Storage Solutions for Long-Term Keeping
For artwork you want to keep but not necessarily display, invest in effective storage.
Storage Options
– Portfolio Books: Large, expandable folders designed specifically for keeping art flat and safe.
– Plastic Storage Bins: Clear bins labeled by year or child help organize bulkier projects.
– File Boxes: Use labeled folders inside file boxes to sort artwork chronologically or by theme.
– Art Apps: Digitize artwork by photographing or scanning, then store images on apps designed for kids’ art collections.
Digitization reduces physical clutter while preserving memories in an easily accessible format.
Step 5: Set a Regular Review Routine
Periodically reviewing the art collection helps prevent buildup.
– Schedule a monthly or seasonal “art review” with your child.
– Decide together which pieces to keep, display, gift, or recycle.
– Encourage gifting artwork to relatives or using it for homemade cards.
This practice teaches kids to appreciate their work and make choices about what matters most.
Step 6: Incorporate Creative Repurposing Ideas
Instead of simply storing art, sometimes it’s fun to give it a new life.
Ideas include:
– Custom Wrapping Paper: Use drawings to wrap gifts for family and friends.
– Art Books: Bind a selection of artworks into a homemade scrapbook.
– Decorative Items: Turn artwork into bookmarks, greeting cards, or collages.
– Fabric Transfers: Print art on fabric to create pillows, tote bags, or T-shirts.
Creative uses celebrate your child’s work beyond the fridge door.
Step 7: Keep Supplies Organized to Prevent Mess
An organized art area is easier to maintain and more inviting for your child.
– Use clear containers or labeled bins for different materials.
– Opt for washable supplies where possible.
– Keep drying racks or trays nearby for wet projects.
– Teach your child to clean up after each session.
A consistent cleanup routine minimizes clutter buildup from the start.
Involving Your Child in the Process
Engage your child in setting up organizational systems and decision-making. This builds responsibility and pride in their creations. For example:
– Let them decorate storage containers.
– Allow them to choose which art to display.
– Set goals together for how many pieces to keep.
By including kids, organizing art becomes a shared, enjoyable activity instead of a chore.
—
Final Thoughts
Organizing kids’ artwork doesn’t have to be overwhelming. With a designated space, clear sorting rules, thoughtful display and storage solutions, and an ongoing review routine, you can celebrate your child’s creativity without letting clutter take over. Remember, the goal is to cherish memories and encourage artistic growth—keeping everything neat simply makes that easier.
Try these tips and watch how organization inspires both you and your child to enjoy art even more!